Projects

Quad Copter by I-KIT LAB

Drone
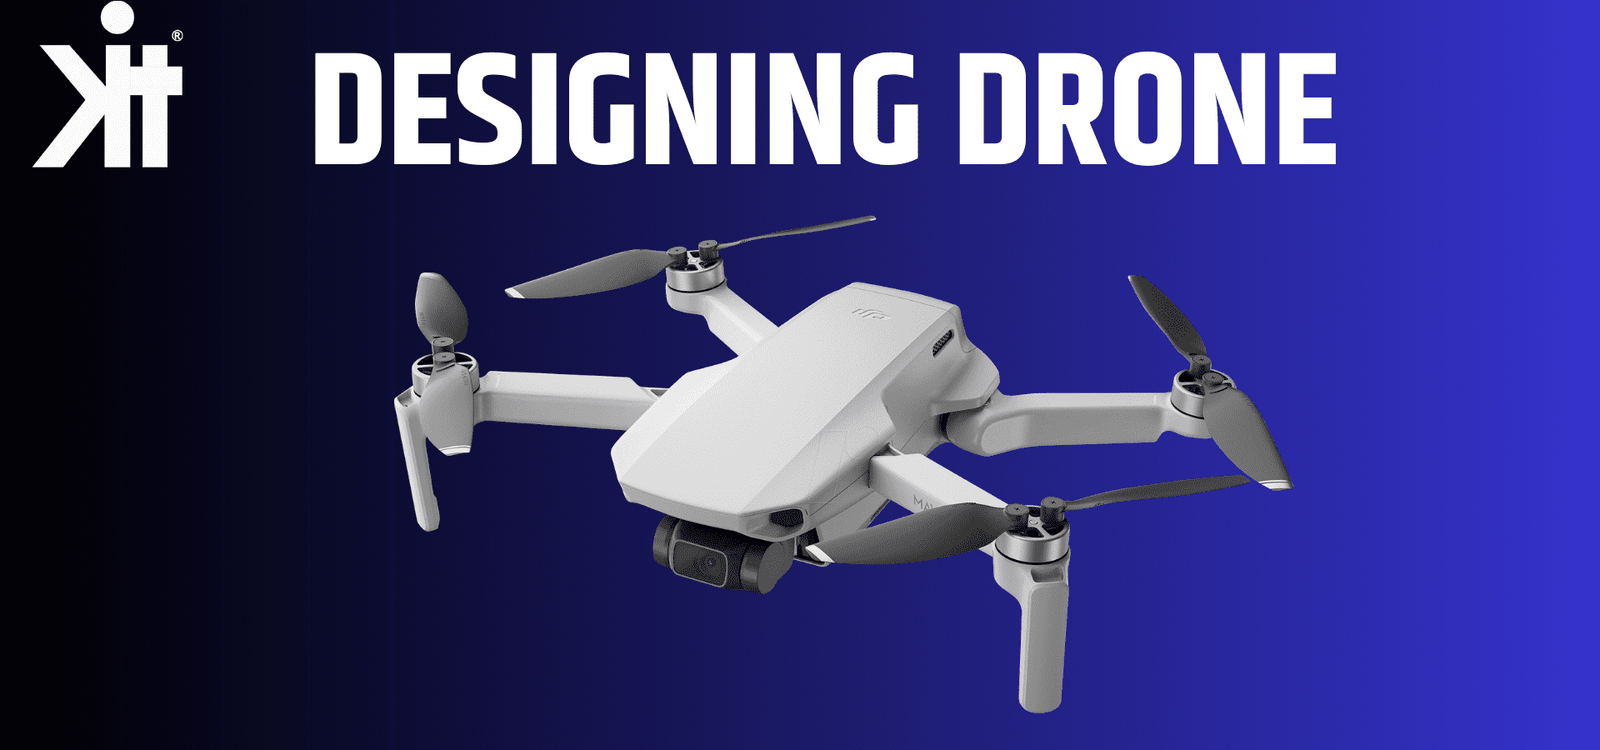
Building your own drone can be an exciting and rewarding project. Whether you’re a hobbyist or a professional, understanding the process of making a drone is essential. In this article, we will guide you through the step-by-step process of building your own drone.

Gather the necessary components

The first step is to gather all the necessary components. This includes the frame, motors, propellers, flight controller, battery, and remote controller. Make sure to choose high-quality components that are compatible with each other.

Assemble the frame

Start by assembling the frame of the drone. Follow the instructions provided with the frame kit to ensure proper assembly. Attach the motors to the frame and secure them tightly.

Install the flight controller

Next, install the flight controller onto the frame. The flight controller is the brain of the drone and controls its flight movements. Follow the manufacturer’s instructions to properly install and connect the flight controller.

Attach the propellers

Now it’s time to attach the propellers to the motors. Make sure to attach them in the correct orientation as indicated by the manufacturer. Tighten the propellers securely to avoid any accidents during flight.

Connect the electronic components

Connect the electronic components such as the motors, flight controller, and battery. Double-check all the connections to ensure they are secure and properly connected.

Calibrate and test the drone

Once everything is connected, it’s time to calibrate the drone. Follow the calibration instructions provided with the flight controller. After calibration, perform a test flight in a safe and open area to ensure everything is working correctly. Building a drone from scratch can be a challenging but rewarding experience. By following these steps and taking your time with each process, you can create your very own drone. Remember to always prioritize safety and follow local regulations when flying your drone.    

Related Posts

Leave a Reply

Your email address will not be published. Required fields are marked *