Introduction
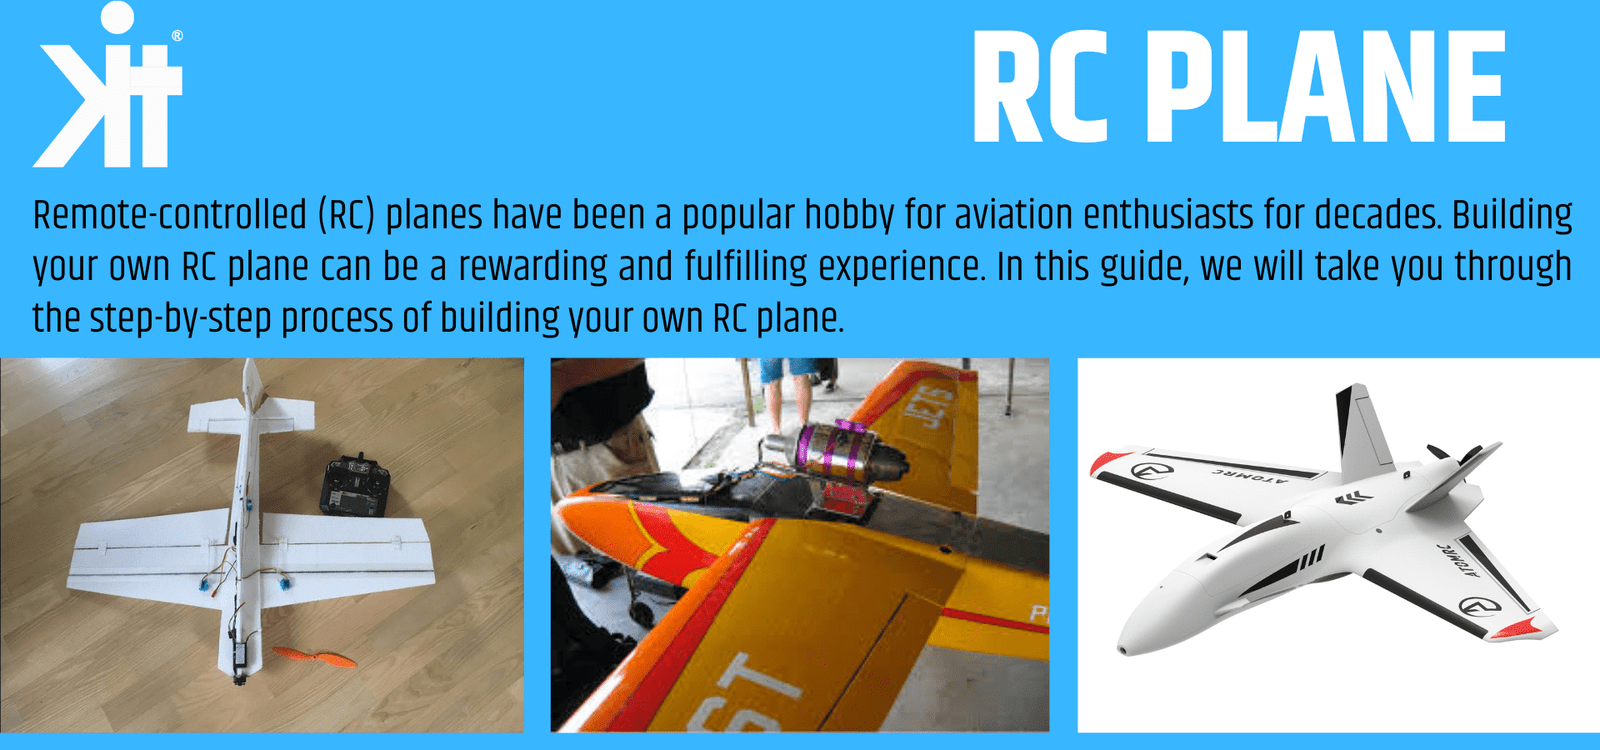
Remote-controlled (RC) planes have been a popular hobby for aviation enthusiasts for decades. Building your own RC plane can be a rewarding and fulfilling experience. In this guide, we will take you through the step-by-step process of building your own RC plane.
Step 1: Gathering Materials
The first step in building your RC plane is gathering all the necessary materials. You will need a foam board or balsa wood for the frame, a brushless motor, propeller, ESC (Electronic Speed Controller), servos, receiver, transmitter, and batteries. Make sure to choose high-quality components for optimal performance.
Step 2: Designing the Plane
Before you start building, it’s important to have a clear design in mind. You can either choose a pre-designed plan or create your own. Consider factors like wingspan, weight distribution, and control surfaces while designing your plane.
Step 3: Cutting and Shaping the Frame
Using the foam board or balsa wood, cut out the necessary pieces according to your design. Use a sharp knife or a laser cutter for precise cuts. Sand the edges to ensure a smooth finish. Join the pieces together using glue or adhesive tape.
Step 4: Installing the Electronics
Now it’s time to install the electronics. Mount the brushless motor on the front of the frame and secure it with screws. Connect the ESC to the motor and the battery. Install the servos on the wings and connect them to the receiver. Finally, connect the receiver to the transmitter.
Step 5: Building the Wings
Cut out the wings according to your design from the foam board or balsa wood. Attach the wings to the frame using glue or adhesive tape. Make sure they are aligned properly and have the right dihedral angle for stability.
Step 6: Balancing and Testing
Before your first flight, it’s crucial to balance your RC plane. Adjust the position of the components to achieve the correct center of gravity. Test the control surfaces to ensure they move freely and in the right direction. Make any necessary adjustments before taking your plane to the field.
Step 7: Flying and Fine-Tuning
Once your RC plane is ready, it’s time to take it for a test flight. Start with short flights and gradually increase the duration. Observe the plane’s behavior and make any necessary trim adjustments to achieve stable flight. Practice flying and fine-tuning until you are comfortable with your plane’s performance.
Conclusion
Building your own RC plane is a challenging yet rewarding experience. By following these steps and putting in the time and effort, you can create a custom RC plane that suits your preferences. Remember to always prioritize safety and have fun while building and flying your RC plane.


